You just want to make a bread or a brioche and you need to activate the yeast as it’s the first step of any kind of these recipes. It’s an important step you have to do correctly. So I will explain to you how to activate the yeast for baking your bread, brioche or any dough.
Yeast is a microscopic, unicellular fungus. The great particularity of yeast is that it is a living organism! Just like those of humans, yeast cells are alive and natural. This is why you have to treat it carefully!
Why is baker’s yeast essential for making bread?
All these ingredients are important, but in order for bread to swell, one of them is essential: yeast … It is the carbon dioxide released by the yeast and that is responsible for the swelling, at least in part. Another element is essential: the gluten contained in the flour.
How does yeast make bread swell?
The carbon dioxide released by the yeast is trapped in the dough of the bread and causes it to swell. … After fermentation and also during baking, the trapped CO2 goes to the surface of the bread. Thus, it exerts pressure on the net formed by the gluten molecules and the dough swells.
Yeast development
Without air:
In anaerobiosis (absence of air), the sugar is transformed into alcohol and carbon dioxide. This alcohol will evaporate during baking. This is the fermentation.
SUGAR → CO2 + ALCOHOL + LOW ENERGY

With air
In aerobiosis (in the presence of air), the yeasts breathe and multiply. The sugar they feed on is transformed into carbon dioxide and water. There is a release of energy and the cells grow and multiply. When the two cells are the same size, they separate. This is the respiration.
SUGAR + OXYGEN → CO2 + WATER + SIGNIFICANT ENERGY

HOW TO ACTIVATE THE YEAST ?
The quantity of yeast is depending on the quantity of flour. Imagine you just want to make a baguette with me .
My best recommandation is to activate the east 30 minutes before the session. You could do it a little before or after, but if you will do it at the last minute ( before preparing your dough) the yeast could be less developed.

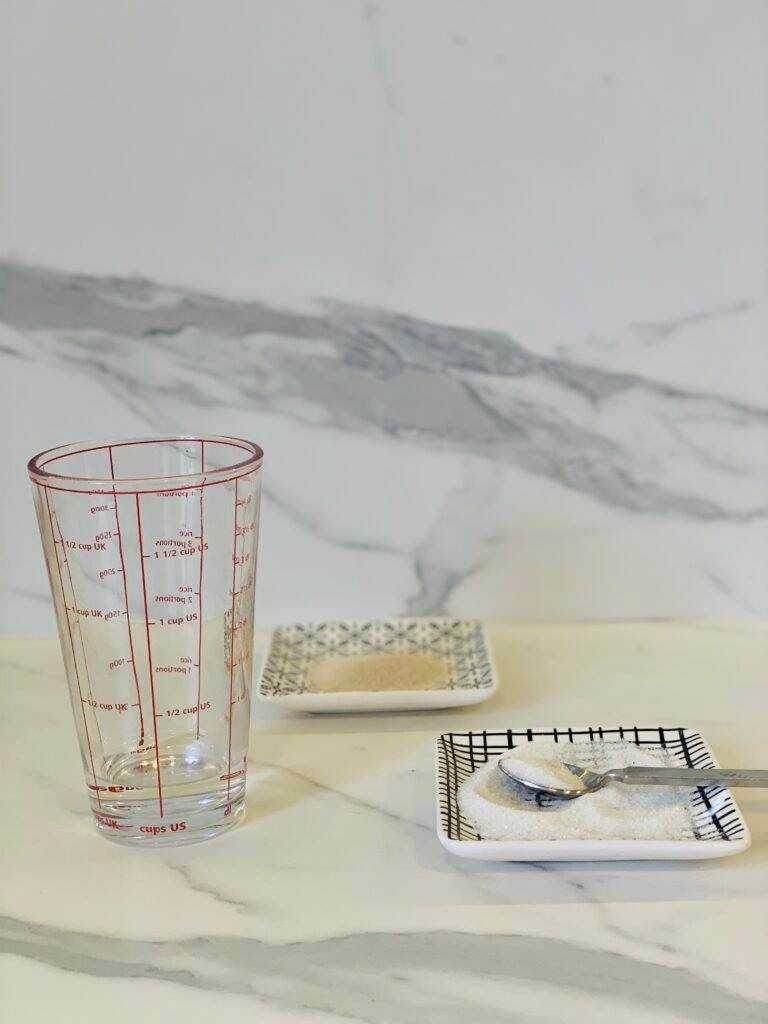
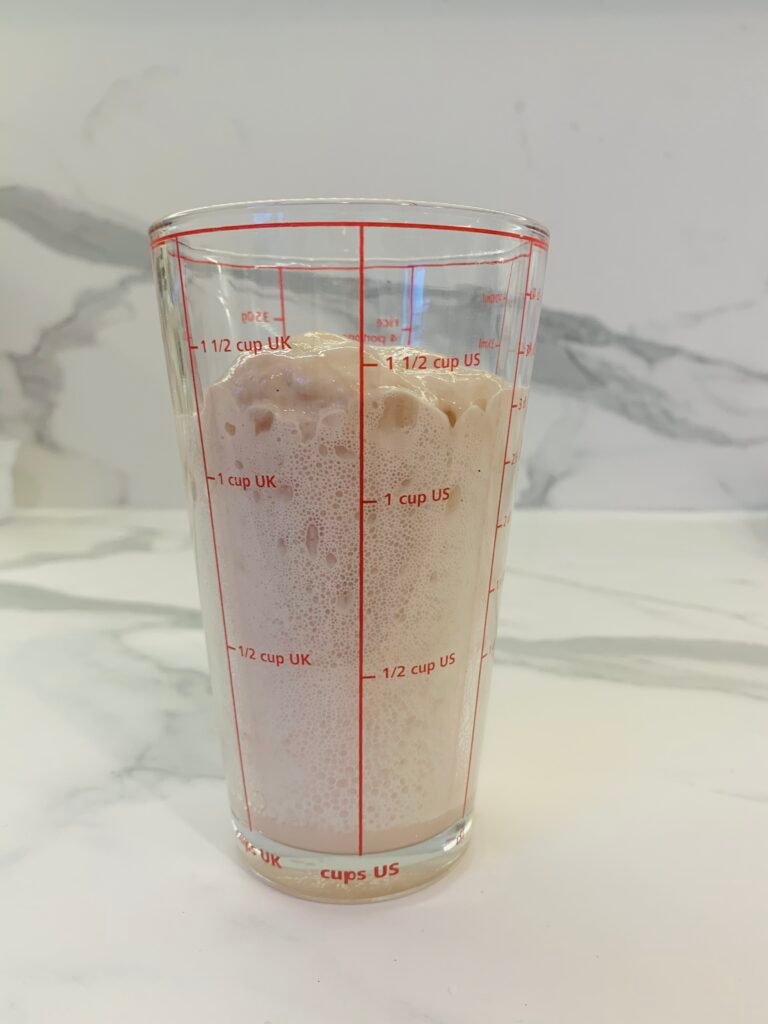
If you have to activate 1 tablespoon of yeast, you will need to prepare a big glass, cup or whatever you want. But you have to think that if the development is well done the yeast will foam a lot. So the glass could be too small to contain it. It’s not a bad thing if it’s foaming a lot, it’s a perfect one!


Now, this is the tricky moment, you have to add the water. The quantity for making the bread with me is ⅛ cup of water like that you will masters the other amount of water that you will add during our online cooking classes What which is important is the temperature of the water. The water needs to be warm, but not hot, neither cold. Around 100° F could be a good temperature.
PREPARATION :
=>In the container with ⅛ cup of warm water: 100°F, add 1 teaspoon of sugar: mix and add 1 tablespoon of dry yeast because as you know the yeast will be fed with and will bubbling better. It’s helping a lot as it increases the fermentation.

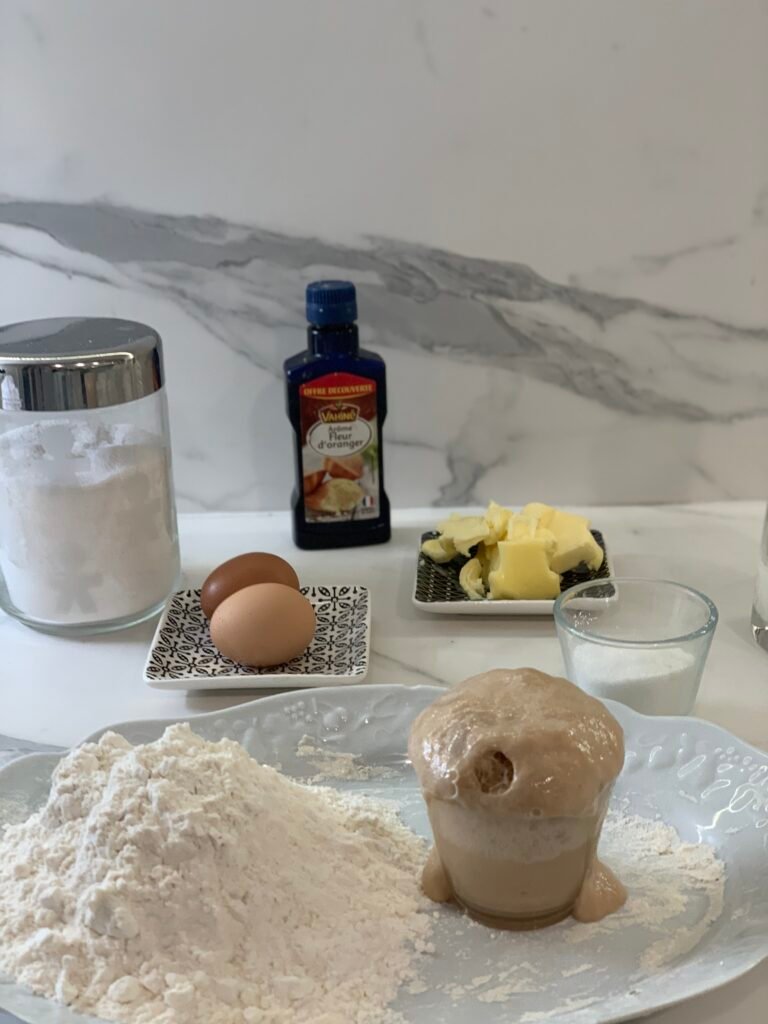
Small bubbles appear, a foam is foamed … it is ready to be used!

The temperature
This is where the problem most often lies. When adding water, make sure to keep the temperature warm (around 40°C -100°F).
If the water is too cold, the ferments fall asleep and the dough does not rise.
If the water is a little too hot, the dough will rise a first time, but the ultra-activated ferments will eventually fall off during the second sprouting or during baking. Moreover, the bread will have no taste.
If the water is really too hot, the bacteria will be killed. So the yeast will no longer be able to process the sugar in the flour.
Note:
There is a variant called “fast-rising yeast”. As its name indicates, the dough swells twice as fast. It is used in the same way, in salty or sweet preparations. It is incorporated as is, directly into your preparation, respecting the order of your recipe. Its disadvantage: one finds in its composition an emulsifier (E491) and an antioxidant (E300).
Water quality
It is important to know that too much-chlorinated tap water can prevent the dough from rising properly. Chlorine kills the ferments. If this is the case in your area, use mineral water.

Fresh yeast
If you use fresh yeast the process is exactly the same, but the quantity is different. Indeed you will need to use the double of fresh yeast compare to the dry yeast. Here it will be 2 tablespoons. But you will need as well the double of time to activate it. The fresh baker’s east is solder than the dry baker’s east.
Make your own surdough
1) A recipe for homemade baker’s yeast made from beer
To make it, you will need 100 ml of unpasteurized beer (or cider). If the beer is pasteurized (like many commercial beers), your recipe is less likely to work. So opt for an artisanal or Trappist beer, for example. That way the bread will rise better! Next, you need the essential ingredient in any baker’s yeast recipe: sugar to feed the yeast. Here, count a teaspoon of sugar and add a tablespoon of flour. Mix it all together and leave overnight at room temperature. If it did not take, leave a few more hours. You will get 50 g of fresh yeast to keep in an airtight jar.
2) Potato-based baker’s yeast
To make it with a potato, choose a medium-size potato, peel it and cook it in 4 cups of boiling water. Once softened, crush it and add 1 large spoonful of sugar and another of salt. The salt helps to preserve the mixture. Let it cool slowly and add this preparation to the cooking water. Cover and let it ferment in a warm corner. To help the process, you can add a sachet of dry yeast. However, this is optional. After a day or two, it should have fermented. If fermentation has failed, start again. This is not an exact science and several trials are sometimes necessary. It’s worth it!
3) Wheat flour baker’s yeast
It is an ancestral method for making homemade yeast. It works with any type of unbleached flour.
Ingredients – 1/4 cup flour – 1 cup warm water (not hot)
How to make
1. Pour the flour into a jar. 2. Add water. 3. Cover the jar. 4. Let it rest in a warm place until the mixture rises and bubbles.
Result And voilà, your flour-based yeast is already ready 🙂 In general, you should wait for 1 to 7 days, depending on the temperature and humidity of the place where you let your yeast rest. When it is ready, take a cup of this yeast to make a loaf of bread. Then add an equal amount of water and flour.
The use of homemade baker’s yeast is the same as the yeast you buy in the store. One cup of wet yeast is equivalent to one packet of dry yeast.
Last tips for making your own baker’s yeast: Above all, respect the salt and sugar doses. Too much salt can dry out the preparation. Be sure to respect the amount of salt and sugar or the yeast will be too dry. If you put too much salt, sodium chloride can deactivate the yeast. And too much sugar prevents the yeast from working. – Make sure your kitchen equipment is clean and sterile. Bacteria must not contaminate the yeast. They could destroy your yeast and ruin all your efforts!

great and also fantastic blog site. I actually intend to thank you, for giving us better info.